Kitchen
How to Add Shelves to a Kitchen Cabinet: DIY Storage Solutions
by Andrew Saladino
October 27, 2024
Have you heard that the average person spends 2.5 days each year looking for misplaced items? That’s 60 hours of your life wasted in chaos!
Adding shelves not only optimizes your storage but also gives you back precious time. With DIY cabinet shelf installation, you can create a system that works well for you and your family.
Just imagine opening your kitchen cabinets and finding everything perfectly organized. No more avalanche of pots and pans every time you need that one elusive lid.
Sounds like a dream, right? It’s not a dream. In fact, it’s easier than you think, especially if you’re a homeowner who’s looking to maximize your space. This guide will show you how to add shelves to a cabinet, transforming all your clutter into a well-organized oasis.
Deciding on the Right Shelf Type for Your Kitchen
Before we get into the nuts and bolts of how to add a shelf to cabinet, you need to take some time to understand the basic structure of your cabinets. Cabinets generally come in two types, fixed shelves and adjustable shelves.
Fixed shelves are the sturdy, non-movable shelves typically found in older cabinets. They offer excellent stability but limit flexibility. Modern cabinets often feature adjustable shelving. These shelves rest on small pegs or brackets and can be moved up or down to accommodate different items.
Beyond the type of shelf, you’ll also want to consider material. Plywood is a popular choice because it’s affordable and easy to work with. MDF (Medium Density Fiberboard) is another good option, especially if you plan to paint your shelves.
You could technically even add wire shelves, which won’t be quite as sturdy, but can be very much a plug-and-play situation. In some cases, adding shelves might be as simple as sliding a few brackets into place, but in others, you may have to do some drilling.
Which leads us to our next point: when you’re doing any kind of home improvement project, remember to measure twice, cut once. Start by measuring the width, depth, and height of your cabinet. This will determine the size of the shelves and the number of cabinet shelf brackets or pegs you’ll need.
DIY Cabinet Shelf Installation: A Step-by-Step Guide
To install your cabinet shelves, you’ll need to think carefully about the type of shelf, since this impacts the methods and materials required for installation.
For fixed cabinet shelf installation, follow these basic steps:
- Measure and Mark: Again, this is the most important step! Measure the inside of your cabinet and mark where you want the new shelf to go. Use a level to ensure your lines are straight.
- Cut the Shelf: Using your measurements, cut the shelf to size. Sand the edges for a smooth finish.
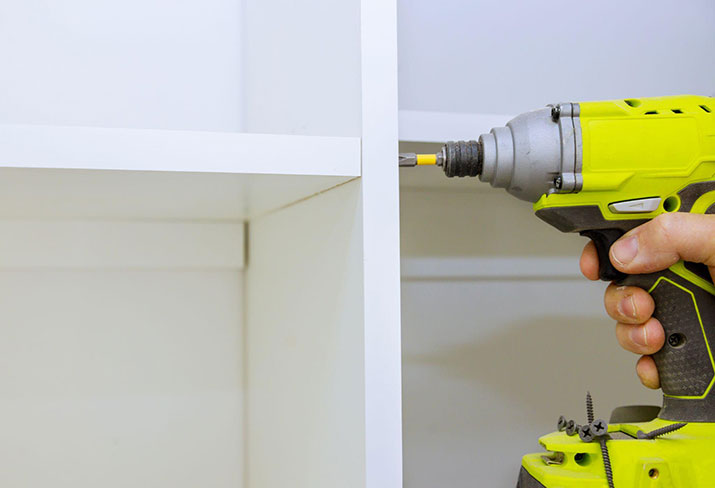
- Install the Brackets: Drill pilot holes where you marked the shelf placement. Screw the brackets into place, ensuring they’re level.
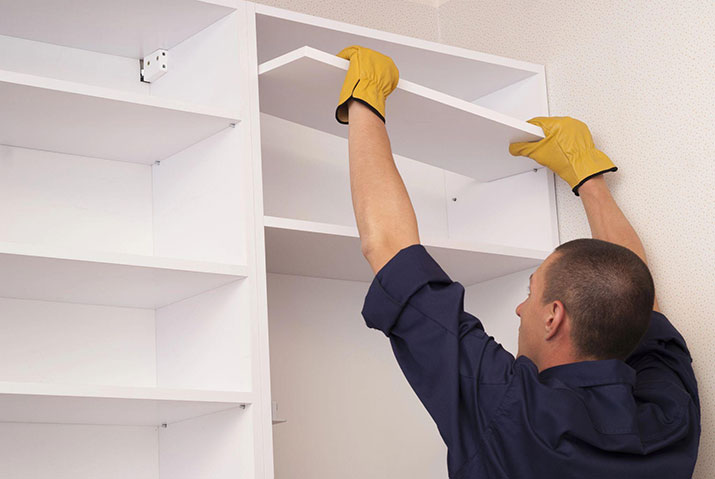
- Attach the Shelf: Place the shelf on the brackets and secure it with screws. Give it a gentle wiggle to make sure it’s stable.
If you plan on installing adjustable cabinet shelving, here’s what you need to do:
- Measure and Mark: Mark the desired positions for your shelf pegs inside the cabinet. Ensure they’re evenly spaced and level.
- Drill Holes: Using a drill bit that matches the size of your shelf pegs, drill holes at the marked spots.
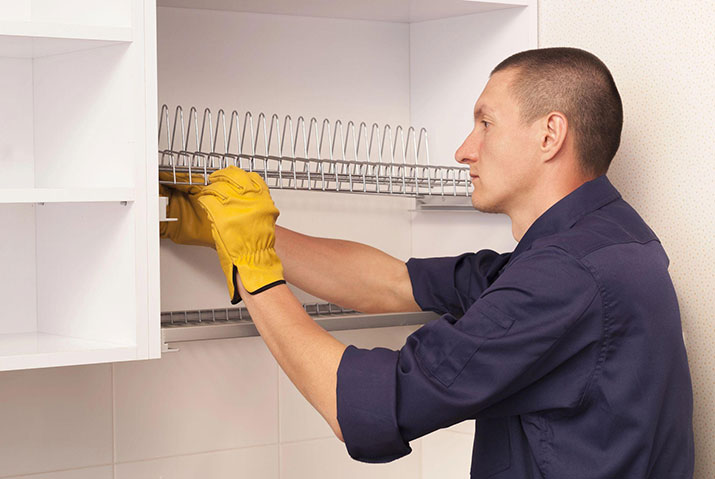
- Insert Shelf Pegs: Push the pegs into the drilled holes. They should fit snugly without wobbling.
- Place the Shelf: Place your shelf on the pegs, ensuring it’s secure. Adjust as needed to achieve the perfect height.
For adding shelves to a closet, the process is nearly identical. However, you may need larger or more robust brackets to support heavier loads like clothes and shoes. Consider using wall anchors for added stability.
You can also follow similar steps if you want to raise shelves in a cabinet. Simply remove the shelf, reposition the pegs or brackets to your desired height, and replace the shelf. For fixed shelves, you’ll need to remove and re-install them at the new height.
Don’t Forget the Finishing Touches!
After you’ve installed the shelves, your work isn’t quite done – don’t start loading them up just yet. If you used plywood or MDF, sanding the edges will give your shelves a polished look. Consider painting or staining them to match your cabinet interior.
Then, organize your items in a way that makes sense for your daily routine. Group similar items together and keep frequently used items within easy reach.
At the end of the day, adding shelves to your cabinets is a straightforward DIY project that offers significant benefits. From improving organization to making your kitchen more functional, the advantages are clear. Plus, it’s a fun and rewarding way to customize your space.
Ready to get started? Grab your tools and bring a little more order to your life today!
Frequently Asked Questions
How do I add an extra shelf to my cupboard?
To add an extra shelf to your cupboard, start by measuring the interior dimensions to determine the necessary size for the shelf. Purchase suitable wood or a premade shelf panel that fits these dimensions, along with additional shelf pegs or brackets; once the pegs or brackets are in place, you can position your new shelf on top.
How do you add shelves to an existing closet?
Use the same process as adding shelves to cabinets, but consider more robust brackets and wall anchors for heavier items.
How do you raise shelves in cabinets?
If you have adjustable shelving, simply reposition the pegs or brackets. For fixed shelves, reinstall them at the desired height.
How to insert shelf pegs?
Measure and mark the desired position, drill holes, insert the pegs, and place your shelf, ensuring it’s secure and level.
Andrew Saladino
Andrew Saladino is the Co-Founder of Kitchen Cabinet Kings and has helped more than 10,000 customers design kitchens that are both stylish and built to last. Recognized by the NKBA for his expertise in kitchen design, he believes the secret to a successful remodel comes down to planning, patience—and plenty of caffeine.
![See your dream kitchen in 3D [GET YOUR FREE DESIGN]](https://cdn.kitchencabinetkings.com/blog/wp-content/uploads/see-your-dream-kitchen-in-3d.webp)
![Contractor Discount Program: Offering contractors and builders special volume discounts on all applicable orders [LEARN MORE]](https://cdn.kitchencabinetkings.com/blog/wp-content/uploads/contractor-discount-program.webp)
![Explore our photo gallery [GET INSPIRED]](https://cdn.kitchencabinetkings.com/blog/wp-content/uploads/explore-our-photo-gallery.webp)
![What everyone is saying about KCK [READ REVIEWS]](https://cdn.kitchencabinetkings.com/blog/wp-content/uploads/what-everyone-is-saying-about-kck.webp)
![Get a cabinet sample [SHOP SAMPLES]](https://cdn.kitchencabinetkings.com/blog/wp-content/uploads/get-a-cabinet-sample.webp)
![Pay over time, on your terms with Affirm [LEARN MORE]](https://cdn.kitchencabinetkings.com/blog/wp-content/uploads/pay-over-time-on-your-terms-with-affirm.webp)