Home
How to Waterproof Wood in 4 Quick & Easy Steps
by Andrew Saladino
March 1, 2024
Now that the warmer months are upon us, you’ll likely spend much more time in your backyard. But when you step out into the sunshine this spring, you may notice that your outdoor furniture or deck is starting to show its age due to exposure to the elements. Don’t rush to the store and spend money on new furniture. Instead, you can waterproof your wood furniture, deck, or other wooden structures to protect them from water damage, improving their longevity and overall appearance.
If you’re ready to take on this DIY project, you’ve come to the right place. We’ve compiled a list of four quick and easy steps to waterproofing wood, ensuring you enjoy long-lasting and durable results. Follow along to learn how to properly waterproof wood to keep it looking great for years to come.
Step-by-Step Guide to Waterproofing Wood
We understand the appeal of having wood structures in your backyard. Wood is an extremely versatile and beautiful material, which allows it to be used for furniture, decking, play areas, and other structures throughout your outdoor space. However, it does require a bit of maintenance because wood is susceptible to damage from moisture.
To keep your wood looking its best, we’ve put together a quick, four-step guide for effectively waterproofing your wood.
Step 1. Clean the Wood Surface
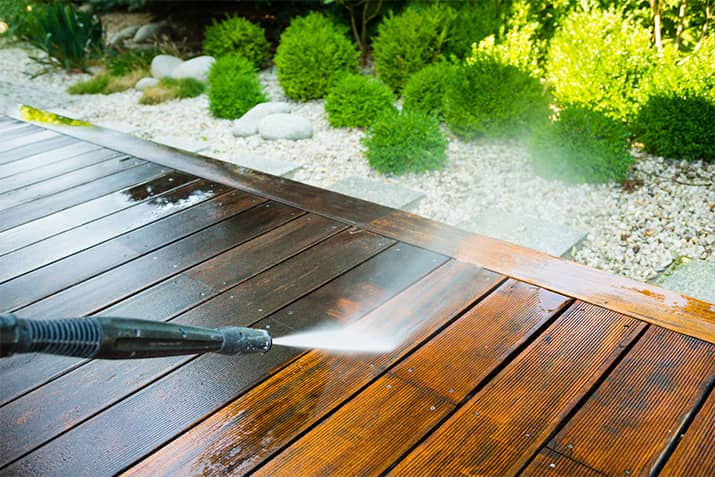
First, we need to get the wood cleaned so you have a clean surface to start with. Because the outdoor item is exposed to the elements throughout the year, you may find a buildup of dirt, dust, and debris that should be removed before the waterproofing treatment. We recommend starting with a broom or a scrubbing brush to remove any debris from the wood. If you notice a lot of buildup, you may need a pressure washer to restore the piece.
Once the wood is clean, allow it to dry completely before proceeding to the next step to ensure that the waterproofing treatment will properly adhere to the wood surface.
Step 2. Sand the Wood (Optional)
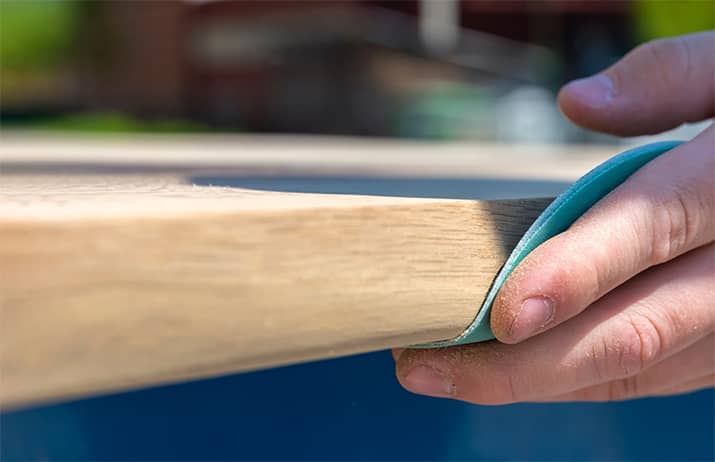
For the best results, you shouldn’t move on to applying the treatment too quickly. Take a moment to examine the surface of the wood. Do you notice any rough patches? Are there any knicks or imperfections? If so, you should sand the wood to create a smoother finish. This will not only improve the appearance of the wood surface but will make it easier for the waterproofing treatment to penetrate it. If you opt to sand the wood, make sure you sand in the same direction as the wood grain to avoid causing any additional damage to the surface.
Step 3. Apply a Waterproofing Sealant

Now that the wood is prepped and ready to go, it’s time for the main event ? applying the waterproofing sealant to protect the wood from moisture damage! If you’ve taken a trip to the hardware store, you know there are a variety of waterproofing sealant options to consider, such as oil-based, water-based, and clear or tinted options. Ask yourself which makes the most sense for this specific project, considering factors such as the type of wood you’re working with.
Once you’ve narrowed down your choice, be sure to follow the manufacturer’s instructions for the application process since not all products are going to have the same instructions. For the application itself, we recommend using a paintbrush, roller, or sprayer ? a sprayer is great for larger projects like a deck or jungle gym. Make sure you are applying the waterproofing treatment evenly throughout the wood surface so no areas are left untouched.
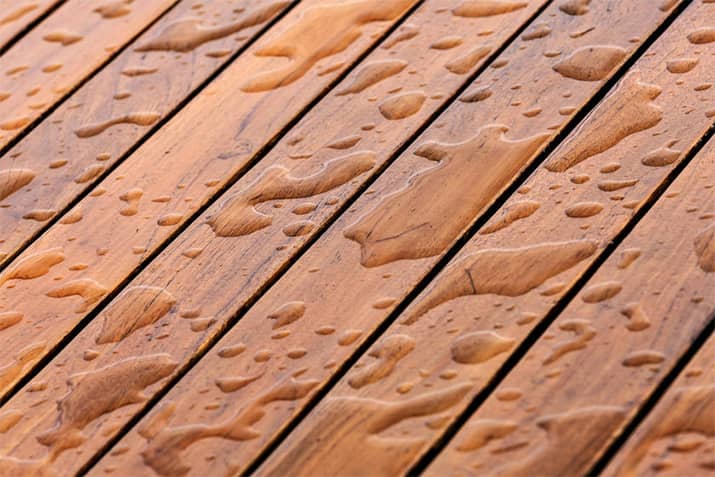
That’s it! You’ve successfully waterproofed the wood surface. For optimal results, keep the wood away from moisture to allow the wood to properly dry. Depending on the size of the project, the drying process can take anywhere from a few hours to a few days.
Pro tip: because you need to let the wood have ample time to dry, make sure to check the weather forecast before starting your project.
Step 4. Perform Regular Maintenance
The last thing you want is for your newly treated wood surface to begin showing signs of wear and tear. To keep your waterproofed wood looking its best, we recommend performing regular maintenance such as resealing the wood as needed, especially if you live in an area where they are constantly being exposed to bad weather.
Frequently Asked Questions
What types of wood can be waterproofed?
Most types of wood can be waterproofed, such as cedar, teak, pine, and oak. However, sealant isn’t always a one-size-fits-all product. Certain types of wood may require specific sealants and treatments, so you must purchase the right type of sealant for the wood you’re working with.
How often should I reapply the waterproofing sealant?
Maintenance is the key to keeping your wood looking its best, which is why you should reapply the sealant every so often. How frequently you need to reapply the treatment will depend on a few factors, such as the type of sealant used, the environment and weather, and the wear and tear on the wood. On average, you should expect to reapply the waterproofing treatment every one to three years.
Can I waterproof painted or stained wood?
If you have wood that is currently stained or painted, you may be wondering if you can treat it the same way. In most cases, you can waterproof the painted or stained surface over the existing finish.
Can I use waterproofing sprays instead of sealants?
We recommend reading reviews of the different types of waterproofing sprays and sealants to see which option makes the most sense for your specific application. The type may depend on the size of the project, the type of wood you’re working with, or the environment in which you live.
Andrew Saladino
Andrew Saladino is the Co-Founder of Kitchen Cabinet Kings and has helped more than 10,000 customers design kitchens that are both stylish and built to last. Recognized by the NKBA for his expertise in kitchen design, he believes the secret to a successful remodel comes down to planning, patience—and plenty of caffeine.
![See your dream kitchen in 3D [GET YOUR FREE DESIGN]](https://cdn.kitchencabinetkings.com/blog/wp-content/uploads/see-your-dream-kitchen-in-3d.webp)
![Contractor Discount Program: Offering contractors and builders special volume discounts on all applicable orders [LEARN MORE]](https://cdn.kitchencabinetkings.com/blog/wp-content/uploads/contractor-discount-program.webp)
![Explore our photo gallery [GET INSPIRED]](https://cdn.kitchencabinetkings.com/blog/wp-content/uploads/explore-our-photo-gallery.webp)
![What everyone is saying about KCK [READ REVIEWS]](https://cdn.kitchencabinetkings.com/blog/wp-content/uploads/what-everyone-is-saying-about-kck.webp)
![Get a cabinet sample [SHOP SAMPLES]](https://cdn.kitchencabinetkings.com/blog/wp-content/uploads/get-a-cabinet-sample.webp)
![Pay over time, on your terms with Affirm [LEARN MORE]](https://cdn.kitchencabinetkings.com/blog/wp-content/uploads/pay-over-time-on-your-terms-with-affirm.webp)


