lighting
Under Cabinet Lighting Part 2: Must-Read Tips for Installation
by Sarah Lu
March 28, 2013
Last week, we sang the praises of under cabinet lighting. It instantly brightens your kitchen, saves your fingers from being chopped along with the vegetables, and is an inexpensive way to update your space, whether owned or rented. Once you’ve selected a type of under cabinet lighting to use (we covered halogen, fluorescent, and xenon), here’s what you need to know to install them.
Plug n’ Play
Many models available today are designed to be plugged right in. Simply plug into an outlet. No hard wiring necessary! If you are not comfortable with working with circuit wiring, tools, or do not have access to this area, stick with this option. If you rent, it’s best to stick with this option as well.
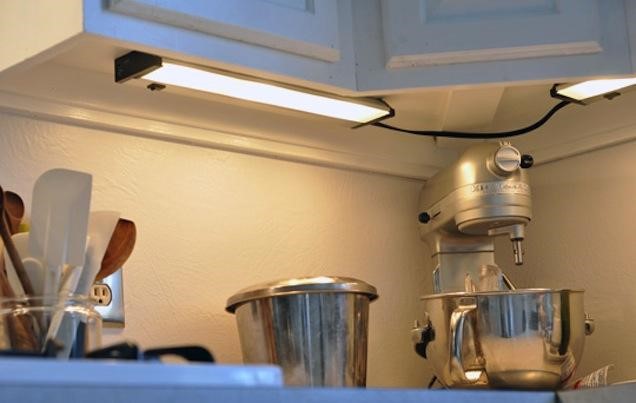
Hard Wiring
This option is usually more attractive because there are no exposed wires hanging down, plus there can be a dedicated wall switch that controls your new under cabinet/task lighting. This approach can be done at home, but takes someone with a bit more experience. If you are not familiar at all with wiring, call on a professional electrician.
- Tools you will need include: a drill, a keyhole saw, a ruler, and cable clamps.
- Your base cabinets are where wires will be run through and hidden, so the plastic sheathed cables you are using could be bumping into pots and pans and other items you store there. To be safe, always run the cables through a protective outer layer, such as a flexible steel conduit (commonly called “flex.”)
- 120 volts of power from your power source will have to be allocated for these new lights. Make sure do you not overload an existing circuit. If you’ve never located the power source in your home before, it is best to call in an electrician to help with this part.
- After lights are installed, DO NOT store perishable items or oils in the cabinets directly above the lights. Depending on the type of light you install, they could heat up very quickly.
- Consider installing lights that have low, medium, high settings or installing a separate dimmer switch to control heat output, especially during the summer.
If you are not at all intimidated by this process so far, read onward for step by step instructions and photos of DIY under cabinet installation. Be sure to reserve a weekend afternoon for this project.
Sarah Lu
Sarah Lu is a design writer who covers kitchen and home remodeling trends for Kitchen Cabinet Kings. She combines a love for style and practicality to help readers create spaces that work for everyday life. When she’s not writing, Sarah enjoys exploring vintage furniture shops and cooking in her New York kitchen.


